
In this module, we’ll discuss how to make your own R library package, and how to upload it to the R CRAN repository.
There are many reasons why you might want to make your own R library package. For example, perhaps you have written R methods that you use on a frequent basis, and would like an easy way to access them that would work from any computer. Or perhaps you want to share your code with others. Or perhaps you want to use your code and data within an RShiny application. When writing a paper, it is also a very nice touch to have your analysis code and data available to others in an R repository, and to reference that repository in the paper.
Uploading an R library to GitHub is fairly straightforward (see this nice tutorial here). Uploading to the official R CRAN repository is a bit more work because they are very particular in how they want the package formatted (and for good reason, because they want to ensure all packages are properly documented and error free). In the following, as you prepare your package, I give tips on what needs to be added where in order to ease the path towards getting your package into R CRAN. This tutorial is primarily aimed at users who are writing a library package based on scripts written in R.
First, read through all of these steps. Then do these steps sequentially, following all directions. If, for whatever reason, you need to stop partway through and have to return to a fresh R session to complete the task at a later date, repeat steps 2 and 3 before proceeding from where you left off.
Step 1:
Now, let’s work on creating our R library. Create a directory on your computer that will hold all the files associated with the library. Name it something that will make it easy to find. It doesn’t have to necessarily have the same name as your R library. I’m going to write a set of methods to overlay a compartmental Susceptible, Infected, Recovered (SIR) disease model on weekly incidence data from a seasonal flu outbreak in the Midwest. This is the same model and same data I described in this past module. I’m thus going to call my directory “sir_influenza”. Call your directory some descriptive name that matches your particular project.
Step 2:
In R, change to that directory (use your directory name):
setwd("~/sir_influenza")
Step 3:
Now, to create an R package, you will need to install devtools and roxygen2 in R. Type the following in the R command line (only do the install.packages commands the first time you use devtools and roxygen):
install.packages("devtools")
install.packages("roxygen2")
require("devtools")
require("roxygen2")
Step 4:
Now you’re ready to create the skeleton of your package. I’m going to call my package “SIRinfluenza”. This will be the name of my package in the R CRAN repository. Note that the rules for R library package names can only include ASCII numbers, letters, and a dot, and must have at least two characters, and start with a letter and not end with a dot. Using underscores in the package name “_”, or any other special character, is not allowed.
On the R command line, type the following (using your package name, not mine):
create("SIRinfluenza")
If you look in your directory that you created for this library, you will now see that it has a subdirectory with your package name. That subdirectory contains an R/ subdirectory (that’s where your R scripts will go… more on that in a minute), and a DESCRIPTION file that will contain a description of the package.
Step 5:
Using the editor of your choice, edit the DESCRIPTION file in that subdirectory and put in your name, a title of the package and a brief description of it. Make sure that there are no mis-spelled words or acronyms, otherwise the package will be rejected by CRAN.
Also note that the title name of your package has to be given in title case (i.e. al nouns capitalised), otherwise the package will be rejected by CRAN.
If your R scripts are going to depend on any external R libraries, you need to tell R to import them in the DESCRIPTION file. My R library will be using methods in the R deSolve library to solve the ODE’s of the SIR model, and will also be using the R sfsmisc library methods for plotting. So I need to add the lines to the file:
  Imports:
     deSolve,
     sfsmisc
If you want your R library to be uploaded to the R CRAN repository, you are also going to need to add “Author:” and “Maintainer:” lines to your DESCRIPTION file, otherwise your submission will be rejected by CRAN. For example:
Author: Sherry Towers [aut, cre]
Maintainer: Sherry Towers <smtowers@asu.edu>
Make sure there is a space after the comma in “aut, cre” in the “Author:” line, otherwise your submission will be rejected by CRAN. Also, make sure that the email is correct, and the best one to reach you at, because it is how CRAN will communicate with you regarding your package.
The automatically generated DESCRIPTION file has a “Depends:” line followed by the version of R that is installed on your machine. If this version number doesn’t end in 0, you need to edit it such that it does, otherwise CRAN will reject your submission. This was the original line in my automated DESCRIPTION file:
Depends: R (>= 3.4.3)
and this is what I changed it to:
Depends: R (>= 3.4.0)
The default version number on the “Version:” line ends in 9000. Change that last number to something smaller (like 1, for example) otherwise your package will be rejected by R CRAN.
XXXX Here is what my final DESCRIPTION file looks like.
Step 6:
Now you add the files associated with your R package. Let’s start with how to add data files (assuming that you have data files associated with your package)
In this past module I talked about fitting an SIR model to influenza outbreak data from the Midwest during the 2007-2008 flu season. Influenza data for past seasons can be downloaded from the CDC FluView website. In the file midwest_flu_2008.csv, I’ve put the influenza outbreak data for 2008 only (just to make things simpler for this example).
If I download this to my working directory, I can read it into R:
midwest_flu_2008 = read.table("midwest_flu_2008.csv",sep=",",header=T)
Now let’s add this to our R package:
devtools::use_data(midwest_flu_2008,pkg="./SIRinfluenza")
If you look in your subdirectories, you will see that there is now a subdirectory that contains a file in .rda format. This is R’s compressed data format.
You need to document your data files, otherwise the package will be rejected by CRAN. In the SIRinfluenza/R subdirectory, create a file called data.R, and fill in the relevant information. All of the lines except the last have to begin with #’ (not just a #). These are directives to methods in the R roxygen2 and devtools libraries that will automatically build the documentation (we’ll be doing this in a later step). In the \item sections you describe what each of the columns in the data frame are:
#' Midwest Influenza Cases in Early 2008
#'
#' A dataset containing the weekly incidence of influenza cases identified by the
#' CDC in the Midwest HHS region in early 2008.
#' @format A data frame with three columns and 20 rows
#' \describe{
#' \item{date}{Date, in years}
#' \item{week}{Week of the year}
#' \item{num_influenza_cases}{Number of identified influenza cases}
#' }
#' @source \url{https://www.cdc.gov/flu/weekly/pastreports.htm}
"midwest_flu_2008"
The @source directive is included to indicate the source of the data.
Note that the very last line does not begin with “#'” and is the exact name of the data frame, otherwise your package will be rejected by CRAN.
Step 7:
Now create the R scripts that will contain the code associated with your packages.
It is good form to have a separate R script for each method.
You need to add comments to each of your scripts that document the method that will be processed by methods in the R roxygen2 and devtools libraries to automatically create documentation for the method. Again all of these comments need to start with #’ (not just #).
At the end of the set of comments, you need to add
#' @export
to ensure the library functions are public.
You also need to add “#’ @param” comments to document the meaning of each of the input parameters to the method, and “#’ @return” comments to document the outputs of the method. Here is what the comments on my SIRfunc.R file look like:
#' These are the differential equations for a Susceptibe, Infected, Recovered (SIR)
#' determinstic model, input to the lsoda() method in the deSolve library
#'
#' @param t The time #' @param x The current value of the model compartments
#' @param vparameters List of the parameters of the model
#' @return The current value of the derivatives of the model
#'
#' @export
I also have a method called SIR_solve_model() in the SIR_solve_model.R script that solves the model for given values of the basic reproduction number R0 and the recovery rate, gamma, assuming that the first infected person is introduced to the population at time t=0 (since the parameters don’t depend on time in this particular model, you can always just shift the results in time after you obtain the solution).
Note that this code depends on methods in the R deSolve library to numerically solve the set of differential equation of the SIR model. But note that I do not have a library(deSolve) or require(“deSolve”) statement in this script… your R scripts in your library should never include these statements! Instead, you use an @import directive to let roxygen2 know that this code has dependencies on other libraries. Like so:
#' @import deSolve
You also need to add examples of how to use your code using @examples XXXXX
Tips: If you use data frames in your code, you’ll run into trouble when trying to submit to the R CRAN repository if you use the subset() command. R CRAN will complain it doesn’t know what the variables are that are used in the logical arguments for the subset. To get around this, instead use a boolean variable to find the rows in a data frame that satisfy a certain set of conditions. Let’s say this boolean is in the vector i. Then do something like this:
my_new_data_frame = my_old_data_frame[i,]
You can see an example of this in SIR_solve_model.R
Also, and much for the same reason, if you have data as part of your package (say, in the data/ directory in an .rda file), and you wish to use it in the methods in your package, you need to do it like follows (but with your package name in place of SIRinfluenza):
SIRinfluenza::midwest_flu_2008
You can see an example of this in overlay_SIR_model_on_data.R
Step 8:
To create the documentation for your R package, type in the R command line (again, use your package name, not SIRinfluenza):
devtools::document("./SIRinfluenza")
If you look in the subdirectories, you will see in the man subdirectory there are now files ending in an “.Rd” prefix that correspond to each of your R scripts. If you edit one of those files, you’ll see that R has translated the comments in your R scripts into documentation for each of the methods. There is also a documentation file for the midwest_flu_2008.rda file that was produced by the comments in the SIRinfluenza/R/data.R script. The NAMESPACE file has also been filled with the exports() and imports() of your package. The imports are the packages your library depends on, the exports are the method names of your library.
Step 9:
Now we’re going to go through the process of ensuring that our package passes the R CRAN requirements.
First, just to make sure that all the documentation is totally up to date for your package, on the R command line, type
devtools::document("./SIRinfluenza")
Now, to check compliance with R CRAN requirements, type:
devtools::check("./SIRinfluenza")
(note that the devtools check() purportedly runs the document() command… I always run the document() command first anyway, just because I’m superstitious I guess).
The check() method will spit out a bunch of output. You need to carefully go through this output and fix all ERRORS, WARNINGS, and NOTES. Just make a pot of coffee, and take it one at a time. In order for submission to R CRAN, every single problem needs to be addressed, otherwise their automated submission system will just reject your package. Hopefully, if you followed all of the instructions above, the number of problems with your package will be minimal or none.
Step 10:
Now we’re going to build what is known as the “tarball” of our package. This is a compressed file that will be uploaded to CRAN.
To build the tarball for your package, on the R command line, type
devtools::build("./SIRinfluenza")
If you look in your directory, you will see that there is a file with your package name, version number (as it appeared in the DESCRIPTION file), and ending in “tar.gz”.
For users of Mac, Linux, or Unix machines only:
Rather than doing this in R, alternatively, on Mac, Linux, or Unix machines, you can type the following in a terminal window in your main directory that contains your package (in my case, this was in the ~/sir_influenza directory… see Step 2 above):
R CMD build SIRinfluenza
then list directory and look for the name of the tarball
R CMD check --as-cran SIRinfluenza_0.0.0.1.tar.gz
Fix any ERRORS, WARNINGS, and NOTES that appear in the output, and then repeat the “R CMD build” and “R CMD check” lines until you no longer have any problems.
If you have a Max, Linux, or Unix machine, I suggest you do this from the terminal, rather than in R. For whatever reason that I have been unable to ascertain by reading the R devtools::check() documentation, checking from the terminal appears to be more stringent than checking from within R. While rare these days after so many years of using it daily, sometimes my R kung fu is weak.
Step 11:
Do this step if you are going to submit to R CRAN. Otherwise, if you just want to submit to GitHub, go on to Step 12. GitHub is OK if you’re just looking to share your code, but getting it into R CRAN has the advantage that other users know your package has been vetted as far as documentation goes. Also, if you are going to use your package in RShiny, you want it in R CRAN.
You are now ready to submit your package to the R CRAN repository!
Go to https://cran.r-project.org/submit.html and fill out the forms and upload your tarball. Follow the instructions. You will get an email, with further instructions to confirm and complete the submission.
Within about 24 hours you will get a message either telling you your package has been accepted (yes!), or with a list of further problems that need to be fixed. If the latter happens, fix the problems, and re-upload your package.
If you update your package in the future, follow the instructions on this webpage to upload your updated package to R CRAN.
Step 12:
The following steps are to get upload your package on GitHub. Note: if you have successfully uploaded your package to R CRAN, there is no reason to have it on GitHub as well. The following instructions are for users of Mac, Linux, or Unix machines (sorry, I don’t use Windows and likely never will, so I don’t know how to do this on a Windows machine, but I’m sure if you dumpster dive on the Internet enough, there are instructions out there for Windows).
Go to the GitHub web-based code hosting service and sign up for an account (it’s free).
Install git on your local computer:
- Windows: http://git-scm.com/download/win (OK, maybe there is a little bit about Windows on here, but only because I copied and pasted this from another site).
- OS X: http://git-scm.com/download/mac.
- Debian/Ubuntu:
sudo apt-get install git-core. - Other Linux distros: http://git-scm.com/download/linux.
Tell Git your name and email address. These are used to label each commit so that when you start collaborating with others, it’s clear who made each change. In the terminal window, run:
git config --global user.name "YOUR FULL NAME"
git config --global user.email "YOUR EMAIL ADDRESS"
(You can check if you’re set up correctly by running git config --global --list.)
Step 13:
Login to your new GitHub account and create an empty repository that will eventually hold your package. This will be at the URL https://github.com/<your github username>.
Create an empty repository clicking on the ‘+’ icon at the top right hand corner of your screen, and clicking on ‘new repository’. Alternatively, go to https://github.com/new
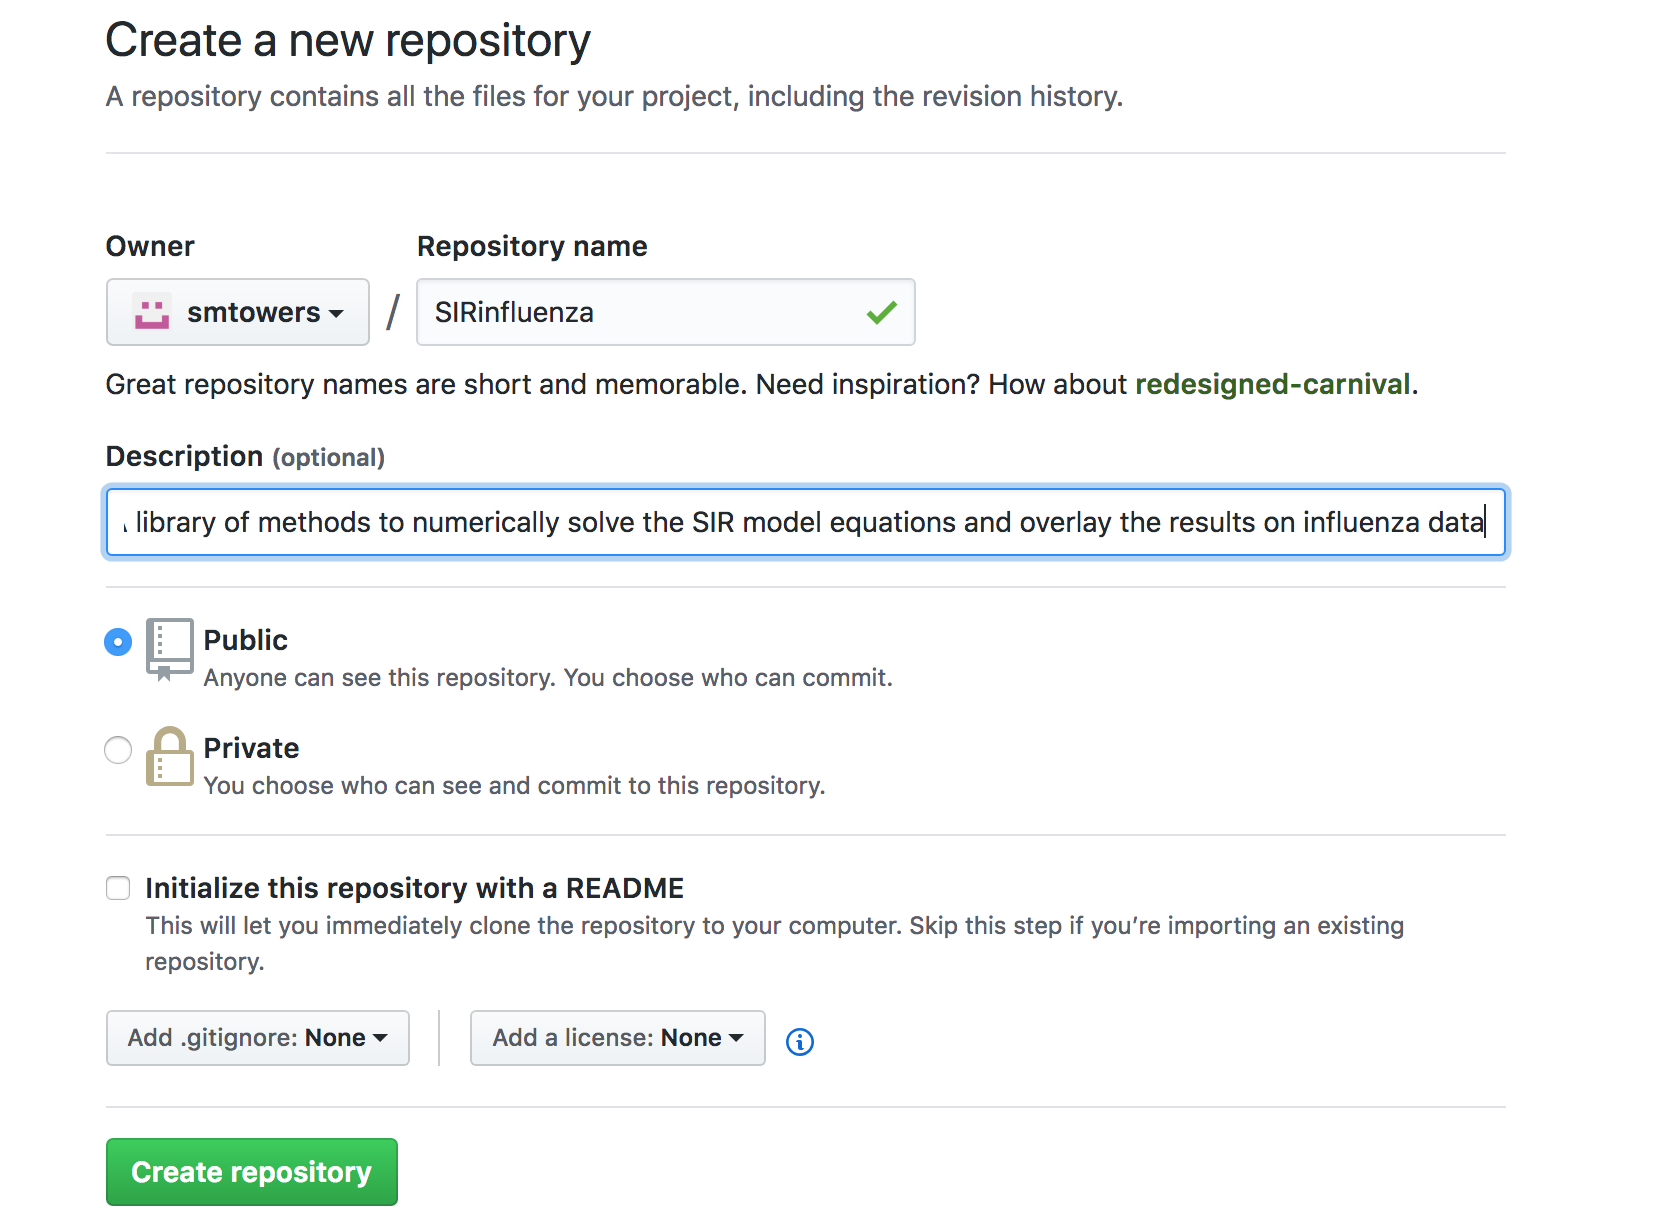
Now, enter in the name of your new repository. Name your GitHub repository the same name you named your R library. In this example, my library was called SIRinfluenza, so that is what I named my GitHub repository. This is what I see on my screen:
Click on “Create repository”
Step 14:
In a terminal window on your Mac, Linux, or Unix machine, change directories to the directory of your R package
cd ~/sir_influenza/SIRinfluenza
Now type:
git init
git add ./
git commit
The last command will open up a file in an editor. Uncomment out all the files you want to commit (in this case, all of them).
Now type (but with your own Github user name and repository name!)
git remote add origin https://github.com/<your github username>/<your R package name>
git push -u origin master
Now, when I go to https://github.com/smtowers/SIRinfluenza, I see that all of my files have been uploaded to the repository.
From here on in, if you edit a file and wish to upload the latest version to GitHub, from the SIRinfluenza directory (or whatever you named your package) type
git add ./
git commit
git push -u origin master
Step 15:
Now, others can install your github R library on their own computers. In a fresh R session, type:
require("devtools")
 install_github("smtowers/SIRinfluenza")
require("SIRinfluenza")
Note that once you load the library, the R data file midwest_influenza_2008.rda that is part of the package is loaded into memory too.